React Native Router
Awesome navigation for your React Native app.
var TwitterApp = require('./node_modules/react-native-router/twitter-example');

var {
  AppRegistry
} = React;

AppRegistry.registerComponent('routerTest', () => TwitterApp);
Configurations
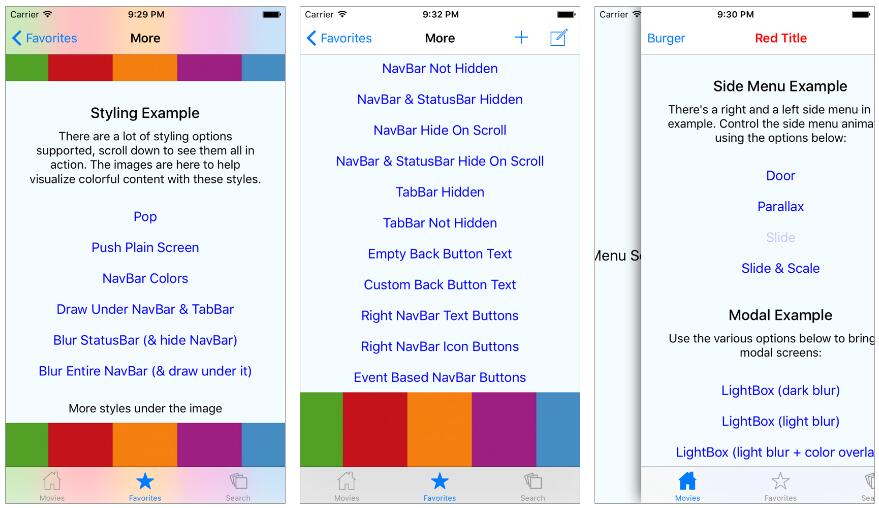
The <Router \> object used to initialize the navigation can take the following props:
firstRoute(required): A React class corresponding to the first page of your navigationheaderStyle: Apply a StyleSheet to the navigation bar. You'll probably want to change the backgroundColor for example.titleStyle: Apply a StyleSheet to the navigation bar titles. Useful for changing the font or text color.backButtonComponent: By default, the navigation bar will display a simple "Back" text for the back button. To change this, you can specify your own backButton component (like in the Twitter app).rightCorner: If you have the same occuring action buttons on the right side of your navigation bar (like the Twitter "Compose"-button), you can specify a component for that view.customAction: A special callback prop for your action buttons (this can be handy for triggering a side menu for example). The action gets triggered from your customleftCornerorrightCornercomponents by callingthis.props.customAction("someActionName")from them. It is then picked up like this:<Router customAction={this.doSomething} />.
The this.props.toRoute() callback prop takes one parameter (a JavaScript object) which can have the following keys:
name: The name of your route, which will be shown as the title of the navigation bar unless it is changed.component(required): The React class corresponding to the view you want to render.leftCorner: Specify a component to render on the left side of the navigation bar (like the "Add people"-button on the first page of the Twitter app)rightCorner: Specify a component to render on the right side of the navigation bartitleComponent: Specify a component to replace the title. This could for example be your logo (as in the first page of the Instagram app)headerStyle: change the style of your header for the new route. You could for example specify a new backgroundColor and the router will automatically make a nice transition from one color to the other!data: Send custom data to your route.
