react-native-map-link
An easy way to open a location in a map app of the user's choice, based on the apps they have installed on their device.
Currently supported apps:
- Apple Maps –
apple-maps - Google Maps –
google-maps - Citymapper –
citymapper - Uber –
uber - Lyft –
lyft - The Transit App –
transit - Waze –
waze - Yandex.Navi –
yandex - Moovit -
moovit

Installation
npm i -S react-native-map-link # or yarn add react-native-map-link
A note about iOS 9+
As of iOS 9, your app needs to provide the LSApplicationQueriesSchemes key inside
Info.plist to specify the URL schemes with which the app can interact.
Just put this in your Info.plist depending on which apps you'd like to support.
Omitting these might mean that the library can't detect some of the maps apps installed by the user.
<key>LSApplicationQueriesSchemes</key>
    <array>
        <string>comgooglemaps</string>
        <string>citymapper</string>
        <string>uber</string>
        <string>lyft</string>
        <string>transit</string>
        <string>waze</string>
        <string>yandexnavi</string>
        <string>moovit</string>
    </array>
Basic usage
Using the showLocation function will shown an action sheet on iOS and an alert on Android, without any custom styling:
import { showLocation } from 'react-native-map-link'

showLocation({
    latitude: 38.8976763,
    longitude: -77.0387185,
    sourceLatitude: -8.0870631,  // optionally specify starting location for directions
    sourceLongitude: -34.8941619,  // not optional if sourceLatitude is specified
    title: 'The White House',  // optional
    googleForceLatLon: false,  // optionally force GoogleMaps to use the latlon for the query instead of the title
    googlePlaceId: 'ChIJGVtI4by3t4kRr51d_Qm_x58',  // optionally specify the google-place-id
    dialogTitle: 'This is the dialog Title', // optional (default: 'Open in Maps')
    dialogMessage: 'This is the amazing dialog Message', // optional (default: 'What app would you like to use?')
    cancelText: 'This is the cancel button text', // optional (default: 'Cancel')
    appsWhiteList: ['google-maps'] // optionally you can set which apps to show (default: will show all supported apps installed on device)
    // app: 'uber'  // optionally specify specific app to use
})
Notes:
- The
sourceLatitude/sourceLongitudeoptions only work if you specify both. Currently supports all apps except Waze.
Alternative usage: styled popup
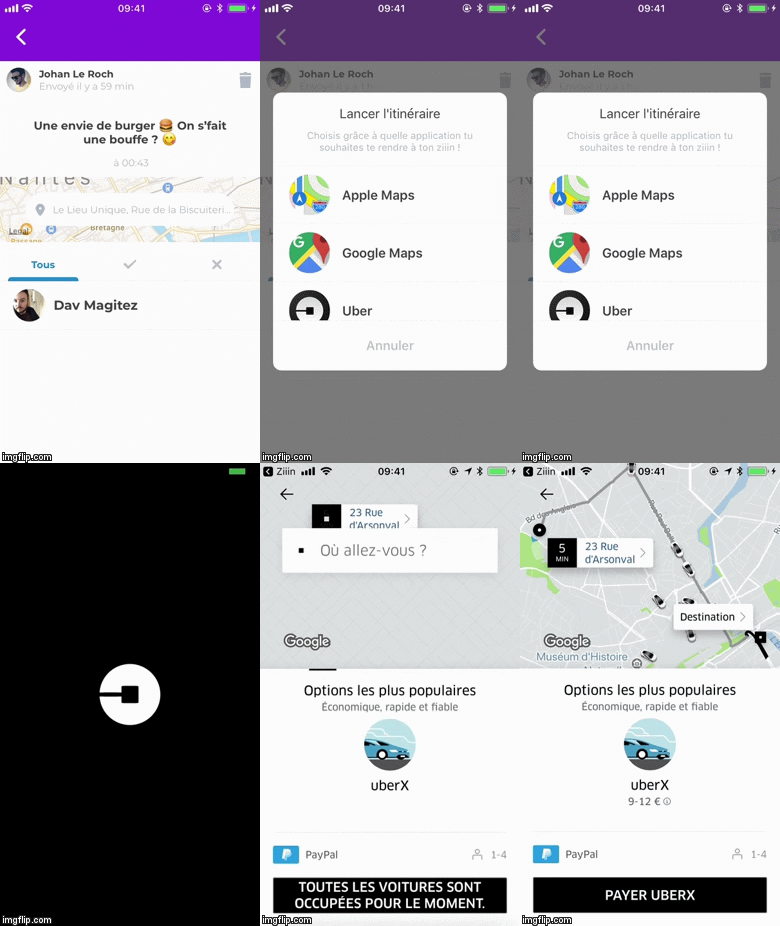
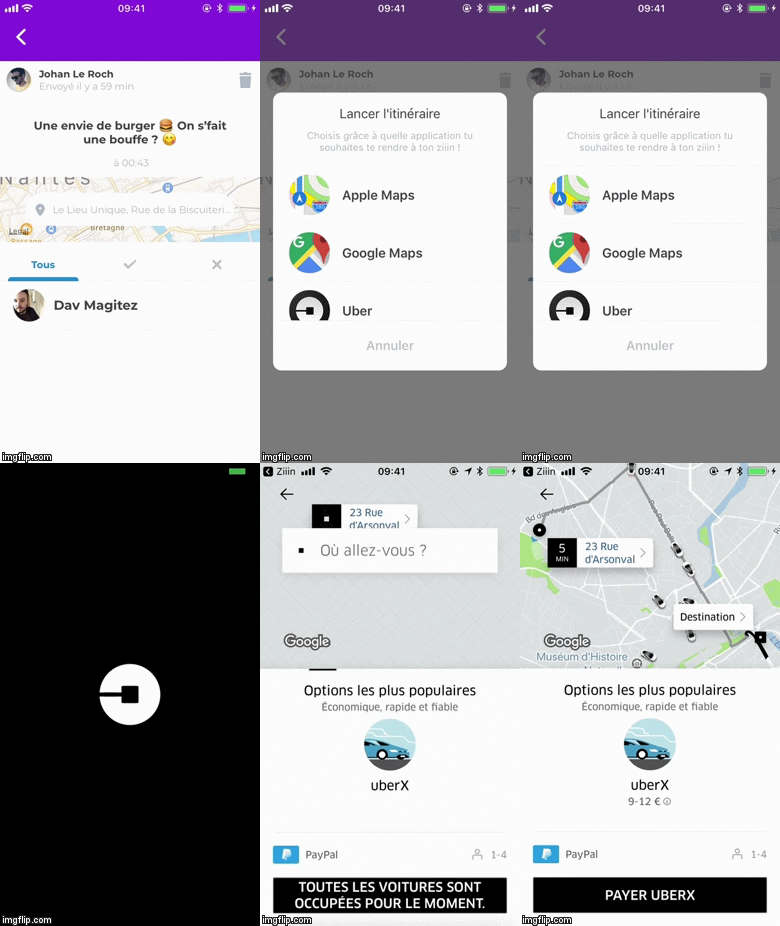
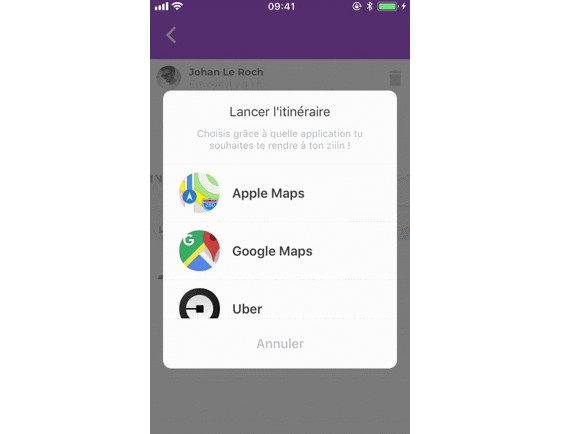
Alternatively, it is possible to use a styled popup that displays icons in the app list:

To use the library in that way, you can import the Popup component:
import { Popup } from 'react-native-map-link';

<Popup
    isVisible={this.state.isVisible}
    onCancelPressed={() => this.setState({ isVisible: false })}
    onAppPressed={() => this.setState({ isVisible: false })}
    onBackButtonPressed={() => this.setState({ isVisible: false })}
    modalProps={{ // you can put all react-native-modal props inside.
        animationIn: 'slideInUp'
    }}
    appsWhiteList={{ /* Array of apps (apple-maps, google-maps, etc...) that you want
    to show in the popup, if is undefined or an empty array it will show all supported apps installed on device.*/}}
    options={{ /* See `showLocation` method above, this accepts the same options. */ }}
    style={{ /* Optional: you can override default style by passing your values. */ }}
/>
The Popup component uses react-native-modal. So you can pass all react-native-modal properties inside "modalProps" to modify styling and animations.
Also, you can customize the styling of the popup by passing an object like this in the style prop of the Popup component:
{
    container: {},
    itemContainer: {},
    image: {},
    itemText: {},
    headerContainer: {},
    titleText: {},
    subtitleText: {},
    cancelButtonContainer: {},
    cancelButtonText: {},
    separatorStyle: {},
    activityIndicatorContainer: {}
}


