react-native-hypertrack
React native module for hypertrack-android and hypertrack-ios SDKs. Methods in the Driver SDK are covered in the current release. Our Example React Native app app is built on top of this module.
To build live location features within your own React Native app
Follow this step-by-step onboarding guide that will walk you through the sdk integration within your own app in a matter of few minutes.
In your project directory, install and link the module package from npm.
$ npm install react-native-hypertrack --save
$ react-native link react-native-hypertrack
Getting Started Android
- Update compileSdkVersion, buildToolsVersion, support library version
For the Android SDK, edit thebuild.gradlefile in yourandroid/appdirectory
-
https://github.com/hypertrack/react-native-sdk-onboarding/blob/master/android/build.gradle
-
L86, L87, L131
android {
    compileSdkVersion 26
    buildToolsVersion "26.0.3"
    ...
}
dependencies { ... compile project(':react-native-hypertrack') compile fileTree(dir: "libs", include: ["*.jar"]) compile "com.android.support:appcompat-v7:26.1.0" compile "com.facebook.react:react-native:+" // From node_modules ... }
-
Adds maven dependency for Google Libraries
For the Android SDK, edit thebuild.gradlefile in yourandroiddirectory// Top-level build file where you can add configuration options common to all sub-projects/modules. buildscript { repositories { jcenter() maven { url 'https://maven.google.com/' name 'Google' } } dependencies { classpath 'com.android.tools.build:gradle:3.0.1' classpath 'com.google.gms:google-services:3.1.0' // NOTE: Do not place your application dependencies here; they belong // in the individual module build.gradle files } } allprojects { repositories { mavenLocal() jcenter() maven { // All of React Native (JS, Obj-C sources, Android binaries) is installed from npm url "$rootDir/../node_modules/react-native/android" } maven { url 'https://maven.google.com/' name 'Google' } } }
Getting started - iOS
-
The native iOS SDKs need to be setup using Cocoapods. In your project's
iosdirectory, create a Podfile.$ cd ios $ pod init -
Edit the Podfile to include
HyperTrackas a dependency for your project, and then install the pod withpod install.use_frameworks! platform :ios, '9.0' target 'AwesomeProject' do # Pods for AwesomeProject pod 'HyperTrack' post_install do |installer| installer.pods_project.targets.each do |target| target.build_configurations.each do |config| config.build_settings['SWIFT_VERSION'] = '3.0' end end end end -
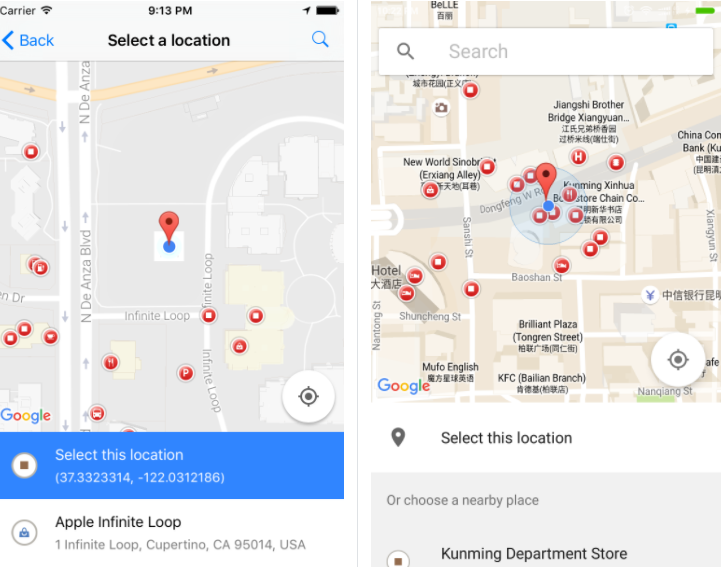
Open the iOS project with .xcworkspace file in Xcode and also, open the
node_modules/react-native-hypertrack/directory. Move the_ios/RNHyperTrack.hand_ios/RNHyperTrack.mfiles to your project as shown below.
- Import inside Javascript.
import { NativeModules } from 'react-native';
var RNHyperTrack = NativeModules.RNHyperTrack;
API usage
1. Initialize the SDK
import RNHyperTrack from 'react-native-hypertrack';
...

export default class MyApp extends Component {
  constructor() {
   super();

   // Initialize HyperTrack wrapper
   RNHyperTrack.initialize("YOUR_PUBLISHABLE_KEY");
  }
}
...
2. Requesting Location & Motion (iOS) Authorizations
// Call this method to check location authorization status.
RNHyperTrack.locationAuthorizationStatus().then((result) => {
  // Handle locationAuthorizationStatus API result here
  console.log('locationAuthorizationStatus: ', result);
});

// Call this method to request Location Authorization for Android & iOS (Always Authorization).
// NOTE: In Android, the Permission dialog box's title and message can be customized by passing them as parameters.
RNHyperTrack.requestLocationAuthorization(title, message);

// Call this method to check location services are enabled or not.
RNHyperTrack.locationServicesEnabled().then((result) => {
  // Handle locationServicesEnabled API result here
  console.log('locationServicesEnabled: ', result);
});

// Call this method to check if Motion Activity API is available on the device
// NOTE: Motion Authorization is required only for iOS. This API will return an error in Android.
RNHyperTrack.canAskMotionPermissions().then((result) => {
  // Handle canAskMotionPermissions API result here
  console.log('canAskMotionPermissions: ', result);
});

// Call this method to request Motion Authorization for iOS.
// NOTE: Motion Authorization is required only for iOS. This API will return an error in Android.
RNHyperTrack.requestMotionAuthorization();
3. Set or create user
If you have a user that is to be associated with this device, set the user id.
RNHyperTrack.setUserId("YOUR_USER_ID");
In case you do not have a user, you can create a new user. Calling this API configures the sdk by creating a new user or fetching the existing one, if one exists with the given lookupId.
RNHyperTrack.getOrCreateUser(name, phoneNumber, lookupId).then((success) => {
      // Handle getOrCreateUser API success here
      console.log("getOrCreateUser success: ", success);
    }, (error) => {
      // Handle getOrCreateUser API error here
      console.log("getOrCreateUser error: ", error);
    });
4. Start tracking
To start tracking on the SDK, use the following method.
RNHyperTrack.startTracking().then((success) => {
      // Handle startTracking API success here
      console.log("startTracking success: ", success);
    },
    (error) => {
      // Handle startTracking API error here
      console.log("startTracking error: ", error);
    });
5. Create and assign an Action
Create and assign an Action object to the user. The createAndAssignAction method accepts a js dictionary object with expected_place_id, type, lookup_id and expected_at keys.
var params = {
  'expected_place_id': '8166a3c6-5a55-42be-8c04-d73367b0ad9c',
  'expected_at': '2017-07-06T01:00:00.000Z'
}

RNHyperTrack.createAndAssignAction(params).then((success) => {
        // Handle createAndAssignAction API success here
        console.log('createAndAssignAction: ', success);
    }, (error) => {
        // Handle createAndAssignAction API error here
        console.log('createAndAssignAction: ', error);
    });
6. Completing an action
If you are using actions for your use-case, you can complete actions through the SDK.
RNHyperTrack.completeAction("YOUR_ACTION_ID");
7. Stop tracking
To stop tracking on the SDK, use the following method.
RNHyperTrack.stopTracking();