react-native-confetti
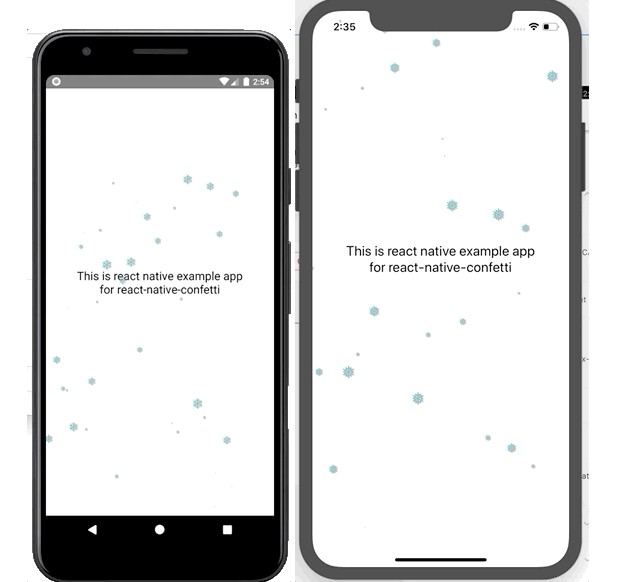
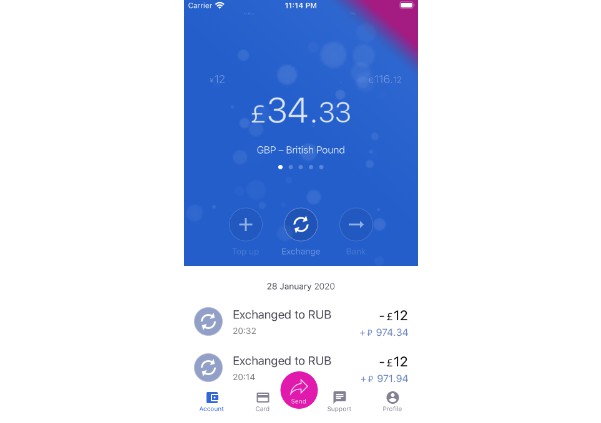
React native component to show confetti. It can be used as raining snow effect animation, with option to use unicode / emoji or use image as the flying pieces.
snow effect
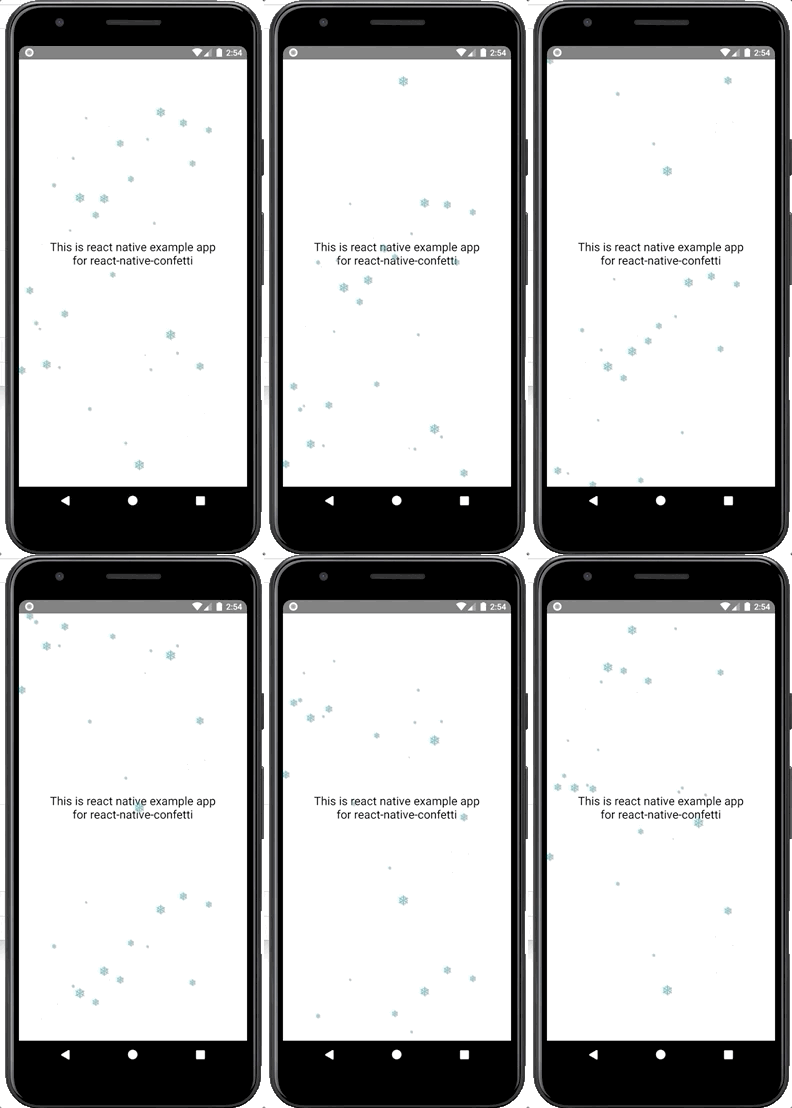
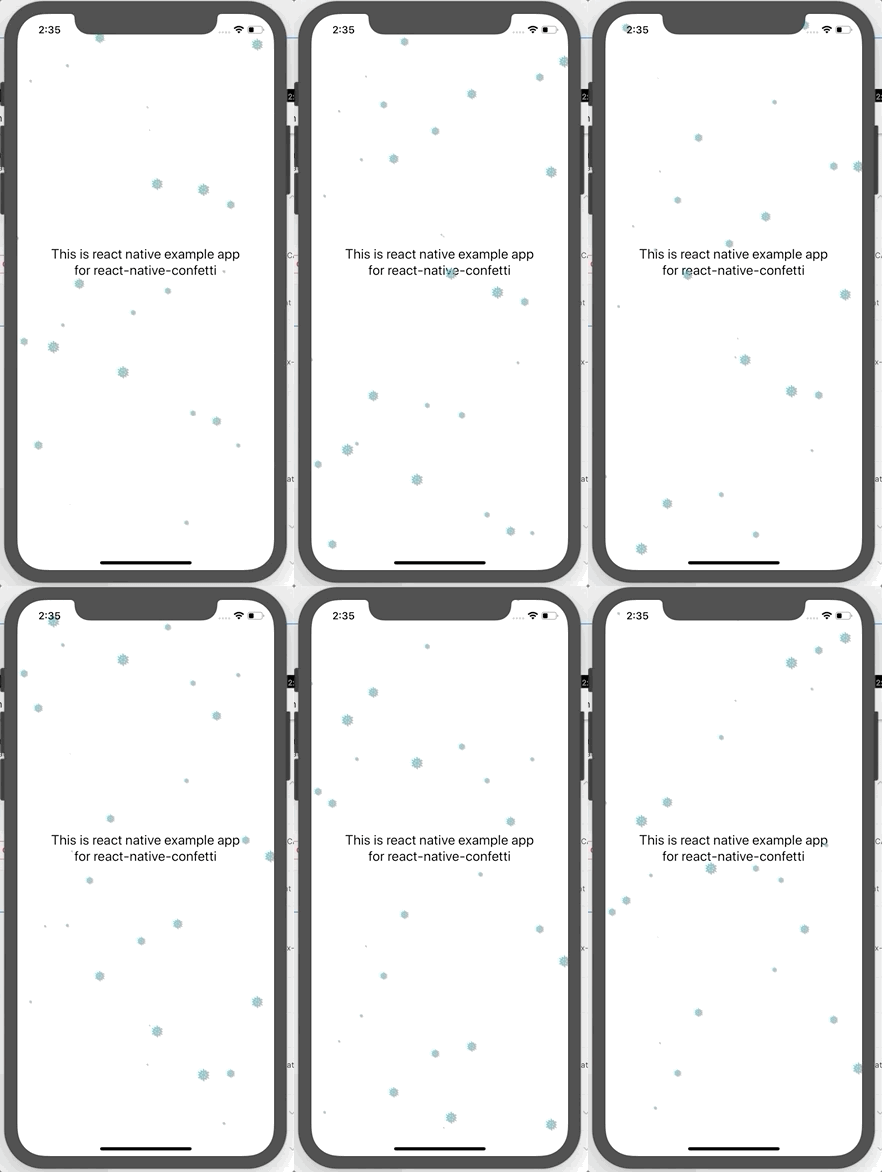
(the animation is not lagging. it's because you need to wait for the gif asset to load)
shake effect
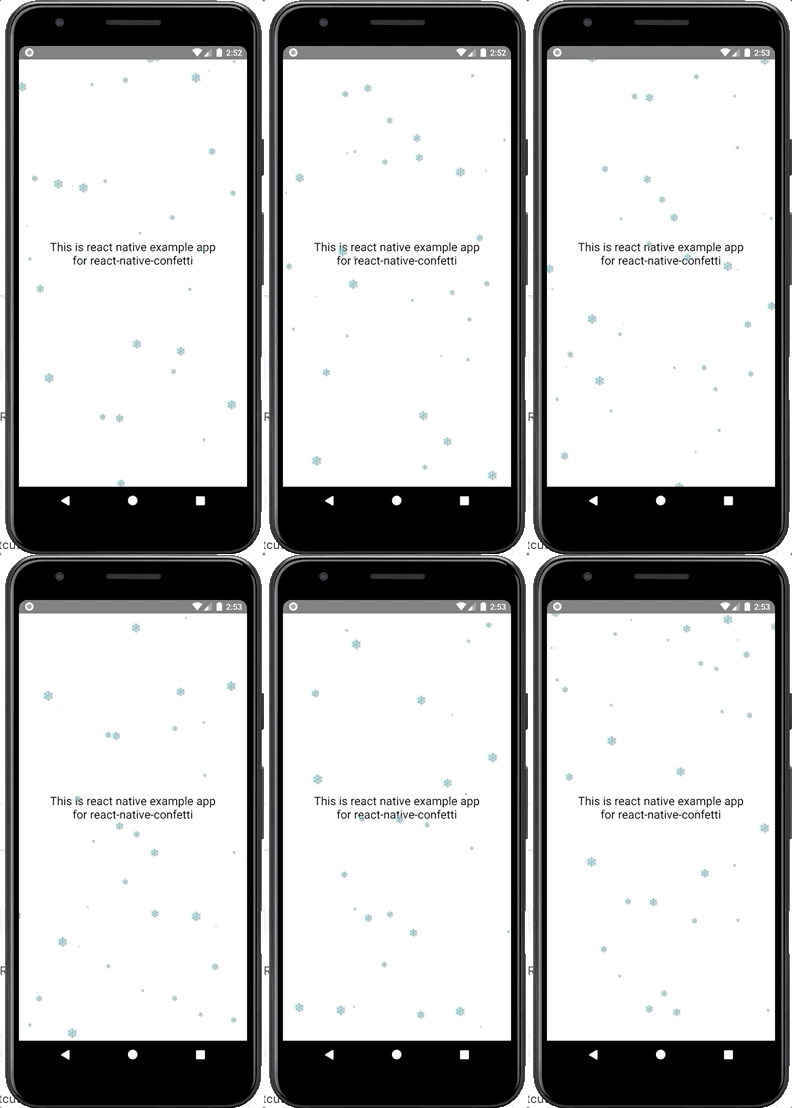
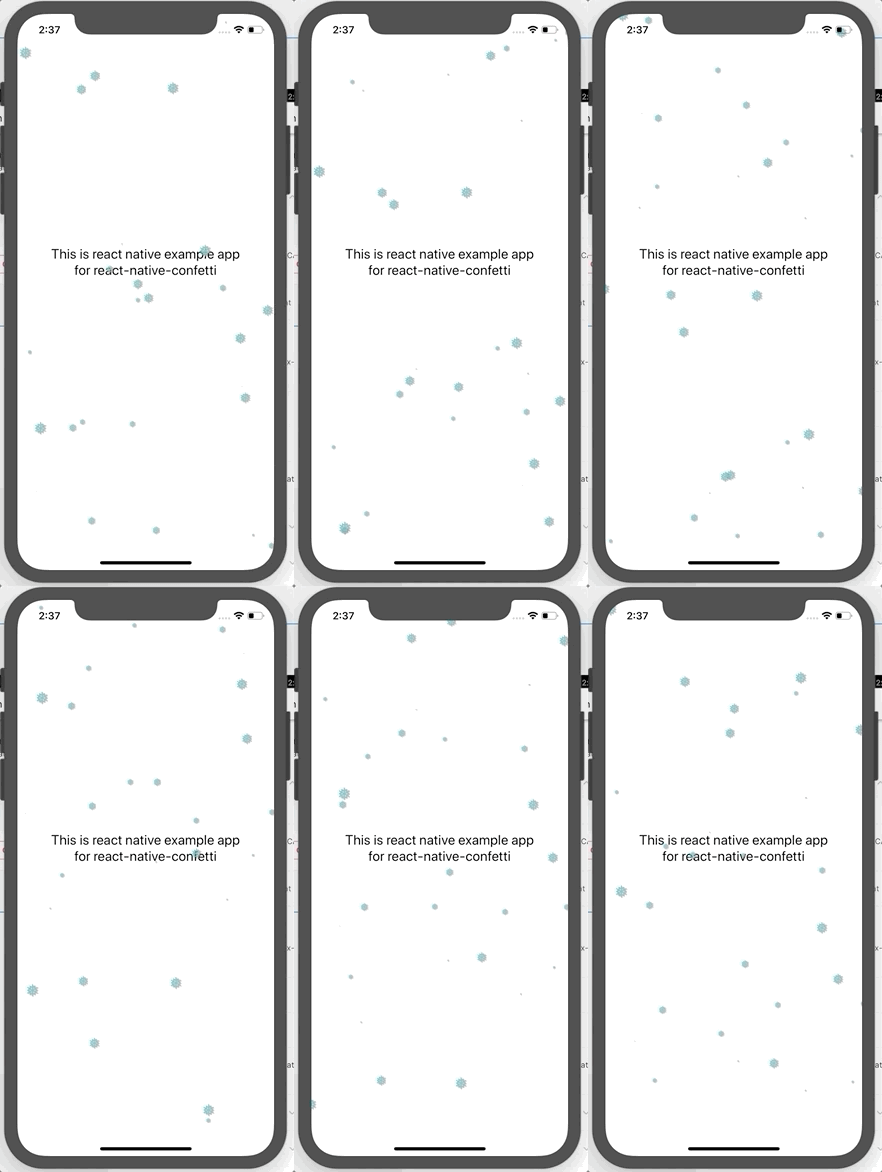
(the animation is not lagging. it's because you need to wait for the gif asset to load)
Getting Started
Dependencies
To be able to dynamically enabling confetti or change the character, your react native app must:
-
Install react-native-firebase (the Core module and Remote Config module)
-
Set up your app to use Firebase
-
Create 5 parameters with value of string in your project's remote config:
parameter example value description confetti_enabled1 set 1to enable, set0to disableconfetti_image_namesnowflake if it has value, the flying piece of the Confetti will use this parameter instead of confetti_character. if you want to use character instead, set this parameter to empty string. Further explanation in using image will be given in next sectionconfetti_character❅ set this value with any character or unicode / emoji. eg: ❅, ❤️, ?. if parameter confetti_image_nameis not empty string, this parameter is not being usedconfetti_typeshake set the value shakeorsnow. Withsnow, you just use vertical falling animation. Withshakeyou get additional horizontal shake animation.confetti_color#6FC4C7 hexadecimal value string
Installation process
Using npm:
npm i @hyperjumptech/react-native-confetti --save
or using yarn:
yarn add @hyperjumptech/react-native-confetti
Usage
Minimal usage
import package
import {Confetti} from '../react-native-confetti';
then put the component inside render
<Confetti
  isEnabled={true}
  color={"#6FC4C7"}
  character={"❅"}
/>
With firebase remote config usage
import package
import {Confetti, fetchConfettiFromFirebase} from '../react-native-confetti';
define state to hold the parameters
state = {
  confetti: {
    confetti_type: 'snow',
    confetti_color: '',
    confetti_character: '',
    confetti_image_name: '',
    confetti_enabled: false,
  }
}
define the parameters and call function to get data from firebase remote config
const keys = [
  'confetti_type',
  'confetti_color',
  'confetti_character',
  'confetti_enabled',
  'confetti_image_name',
];

fetchConfetti(keys).then((confetti) => {
  this.setState({confetti});
});
then put component inside render
const {confetti} = this.state

return (
  <Confetti
    isEnabled={confetti.confetti_enabled}
    color={confetti.confetti_color}
    character={confetti.confetti_character}
    effect={confetti.confetti_type}
  />
)
Usage with image instead of character
If you wish to use image, you can use image from predefined asset (not a dynamic url). So the step is same as above with additional step to define image path and size:
const images = {
  snowflake: {
    path: require('../../path_to_snowflake_image_asset.png'),
    size: 24
  },
  heart: {
    path: require('../../path_to_heart_image_asset.jpeg'),
    size: 24
  },
};
then add the imageComponent props
<Confetti
  ...
  imageComponent={
  !!confetti.confetti_image_name ? (
    <Image
      source={images[confetti.confetti_image_name].path}
      style={{
        width: images[confetti.confetti_image_name].size,
        height: images[confetti.confetti_image_name].size,
      }}
    />
  ) : (
    undefined
  )
}
/>
API references
Props:
| props | type | required | description |
|---|---|---|---|
| isEnabled | boolean | yes | to enable or disable the confetti |
| color | string | yes | define color of character. If you use emoji or image, the color will have no effect even if it has value |
| character | string | no | the flying pieces. default character is snowflake ❅. you can use any unicode character or emoji. if there is imageComponent this props will have no effect even if it has value |
| imageComponent | ReactNode | no | the flying pieces (will override character props) in form of react component for example: Image |
| effect | enum[snow, shake] |
yes | snow to get only vertical falling animation , shake to get additional horizontal shaking animation |
Build and Test
To build, run npm run build or yarn build
To test, run npm run test or yarn test
Demo
To see the running demo, you can run the example app with these steps:
- build package
yarn build
- change directory to
example
cd example
- install packages
yarn
- run android
react-native run-android
or run ios
react-native run-ios
