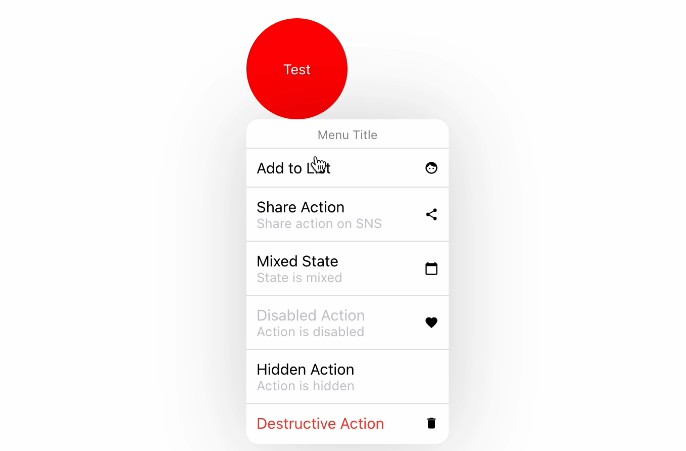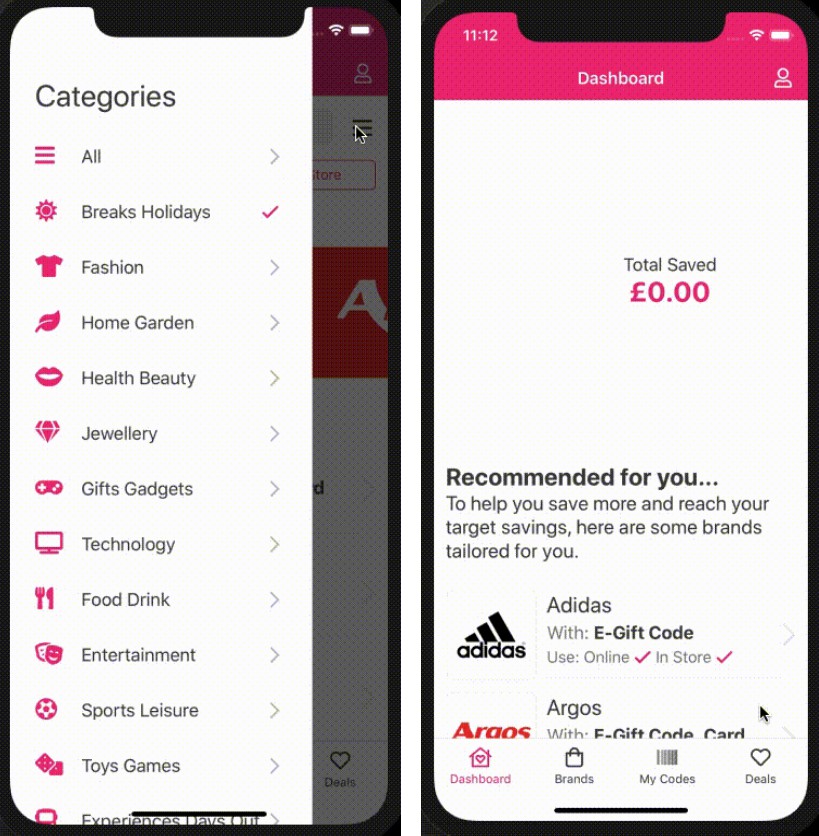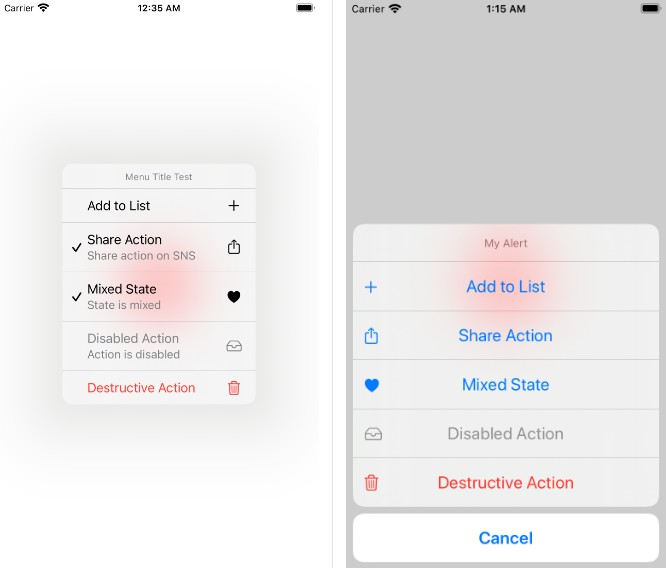
React Native Nav transition
A nice Nav transition with React Native
“For the things we have to learn before we can do them, we learn by doing them.”
― Aristotle, The Nicomachean Ethics
This project was bootstrapped with Create React Native App.
Updating to New Releases
You should only need to update the global installation of create-react-native-app very rarely, ideally never.
Updating the react-native-scripts dependency of your app should be as simple as bumping the version number in package.json and reinstalling your project's dependencies.
Upgrading to a new version of React Native requires updating the react-native, react, and expo package versions, and setting the correct sdkVersion in app.json. See the versioning guide for up-to-date information about package version compatibility.
Available Scripts
If Yarn was installed when the project was initialized, then dependencies will have been installed via Yarn, and you should probably use it to run these commands as well. Unlike dependency installation, command running syntax is identical for Yarn and NPM at the time of this writing.
npm start
Runs your app in development mode.
Open it in the Expo app on your phone to view it. It will reload if you save edits to your files, and you will see build errors and logs in the terminal.
Sometimes you may need to reset or clear the React Native packager's cache. To do so, you can pass the --reset-cache flag to the start script:
npm start -- --reset-cache
# or
yarn start -- --reset-cache
npm test
Runs the jest test runner on your tests.
npm run ios
Like npm start, but also attempts to open your app in the iOS Simulator if you're on a Mac and have it installed.
npm run android
Like npm start, but also attempts to open your app on a connected Android device or emulator. Requires an installation of Android build tools (see React Native docs) for detailed setup). We also recommend installing Genymotion as your Android emulator. Once you've finished setting up the native build environment, there are two options for making the right copy of adb available to Create React Native App:
Using Android Studio's adb
- Make sure that you can run adb from your terminal.
- Open Genymotion and navigate to
Settings -> ADB. Select “Use custom Android SDK tools” and update with your Android SDK directory.
Using Genymotion's adb
- Find Genymotion’s copy of adb. On macOS for example, this is normally
/Applications/Genymotion.app/Contents/MacOS/tools/. - Add the Genymotion tools directory to your path (instructions for Mac, Linux, and Windows).
- Make sure that you can run adb from your terminal.
npm run eject
This will start the process of "ejecting" from Create React Native App's build scripts. You'll be asked a couple of questions about how you'd like to build your project.
Warning: Running eject is a permanent action (aside from whatever version control system you use). An ejected app will require you to have an Xcode and/or Android Studio environment set up.
Customizing App Display Name and Icon
You can edit app.json to include configuration keys under the expo key.
To change your app's display name, set the expo.name key in app.json to an appropriate string.
To set an app icon, set the expo.icon key in app.json to be either a local path or a URL. It's recommended that you use a 512x512 png file with transparency.
Environment Variables
You can configure some of Create React Native App's behavior using environment variables.
Configuring Packager IP Address
When starting your project, you'll see something like this for your project URL:
exp://192.168.0.2:19000
The "manifest" at that URL tells the Expo app how to retrieve and load your app's JavaScript bundle, so even if you load it in the app via a URL like exp://localhost:19000, the Expo client app will still try to retrieve your app at the IP address that the start script provides.
In some cases, this is less than ideal. This might be the case if you need to run your project inside of a virtual machine and you have to access the packager via a different IP address than the one which prints by default. In order to override the IP address or hostname that is detected by Create React Native App, you can specify your own hostname via the REACT_NATIVE_PACKAGER_HOSTNAME environment variable:
Mac and Linux:
REACT_NATIVE_PACKAGER_HOSTNAME='my-custom-ip-address-or-hostname' npm start
Windows:
set REACT_NATIVE_PACKAGER_HOSTNAME='my-custom-ip-address-or-hostname'
npm start
The above example would cause the development server to listen on exp://my-custom-ip-address-or-hostname:19000.