react-native-swift-cli
Helpers for initializing and getting started with making Swift-based native modules for React Native.
Requirements
- XCode 9.0 or newer.
- React Native 0.49 or newer (haven't tested it lower than that)
Install globally for development
react-native-swift-cli is a helper utility for initializing new swift-based native modules and UI components.
yarn global add react-native-swift-cli
To learn how it works:
react-native-swift --help
How to make a new Swift-based native module
react-native-swift lets you quickly create a new swift-based native module and get coding.
react-native-swift init myproject
open myproject/ios/*xcode*
code myproject
Usage
This comes with scripts now!
yarn bridge
Automatically build the bridge file from Swift to React-Native. No more objective-c coding! Uses react-native-swift-bridge for the building work - check that out for idiosyncracies.
yarn watch
Will watch your swift files (in the module) for changes, and rebuild your objective-c module on the fly. Super-handy. Best practice is to run as background process so as not to lock up a terminal:
yarn watch &
yarn addpod
Utilizes the magic of react-native-pod to add Cocoapod dependencies to your module. Here's how:
yarn addpod TwilioVideo --podversion 2.0.0-beta1
NOte that this does not install the pod - it just tells your module to list it as a required pod in package.json. Then apps that require it will bring the pod to the party through their own react-native link process.
yarn removepod
Undo. yarn removepod TwilioVideo
Wrapping with a test app
Don't develop native code from your static library. Never works well. Lots of XCode red lights. Best practice is to work from the context of a runnable app.
react-native-swift makes it easy to create a new almost-blank react-native app and add your swift module.
react-native-swift makeapp myprojecttest myproject
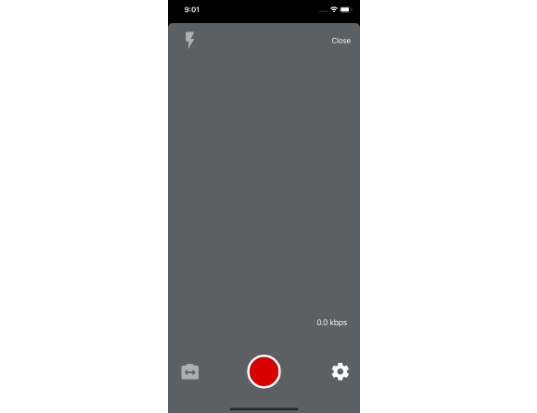
Important: This installer uses react-native-setdevteam and react-native-bundlebase to set your development team and start of your bundle ID, respectively. This is going to be important for running the app on the device, which is necessary for demonstrating the demo camera UI component. The impact is that both of these are interactive the first time they run, so will ask you for the bundle base ID (e.g. com.mycompany or org.myname) you want to use, and the 10-digit development team ID to use. (It will search your ~/ directory to extract it from a project you already have if you don't know it off the top of your head)
Deployment: adding the module to an existing app
You can add the Swift-based native module to you app relatively easily.
cd /path/to/myapp
yarn add link:/path/to/myproject # local link
# yarn add @me/myproject # npm registered
# yarn add meongithub/myproject # github fetch
yarn add react-native-swift
react-native link
The react-native-swift package will, via react-native link, take care of compatibility between your react native and the Swift based component.
Done!
Well, almost. If you are using a CocoaPod, you will want to do the following:
yarn add react-native-pod react-native-fix-pod-links
react-native addpodlinks
react-native link
Note that react-native-fix-pod-links is only necessary if you are using the locally linked project approach above.


