Reactigation
JS-only Navigation for React Native.
Installation
npm i reactigation
Usage
A minimal setup with two screen might look like this
// File: App.js
import React from 'react'
import { View, Text, TouchableHighlight } from 'react-native'
import Reactigation, { register, go, back } from 'reacigation'

const FirstScreen = (props) => (
  <View>
    <Text>{props.title}</Text>
    <TouchableHighlight onPress={() => go('Second')}>
      <Text>go to SecondScreen</Text>
    </TouchableHighlight>
  </View>
)

const SecondScreen = (props) => (
  <View>
    <Text>{props.title}</Text>
    <TouchableHighlight onPress={() => back()}>
      <Text>go back</Text>
    </TouchableHighlight>
  </View>
)

register(<FirstScreen />, 'First')
register(<SecondScreen />, 'Second')

export default Reactigation
Interface
<Reactigation />
This is the main view exported by the plugin and should be directly passed to the React Native AppRegistry.
AppRegistry.registerComponent('app', () => Reactigation)
Registering Screens
At least one screen needs to be registered before Reactigation is initialized. The register function takes any React Component (preferably resembling a screen) and a title for the screen which is required. Optionally the default transition for this screen can be set during registration.
register(Component: React.ReactNode, title: string, transition?: string)
import { register } from 'reactigation'

const screen = () => (
  <View style={{ flex: 1 }}>
    <Text>Hello World</Text>
  </View>
)

register(screen, 'HelloWorld')
Navigating to a Screen
At runtime it's possible to navigate to any of the registered screens (there is also the possibility to register screens after Reactigation was instantiated). For each navigation the transition can be configured.
go(screen: string, transition?: string)
import { go } from 'reactigation'

go('HelloWorld', 'modal')
Going Back
Returning to the previous screen is simple. The animation defined by go will be applied in reverse. On Android when the user clicks the system back button this function is also called.
back()
import { back } from 'reactigation'

back()
Accessing the Current Screen
To conditionally render elements based on the current screen use the following React hook that will rerender the component with the new currentScreen each time a navigation occurs.
import { useCurrentScreen } from 'reactigation'

export const Footer = () => {
  const currentScreen = useCurrentScreen()

  if (currentScreen !== 'Overview') {
    return null
  }

  ...
}
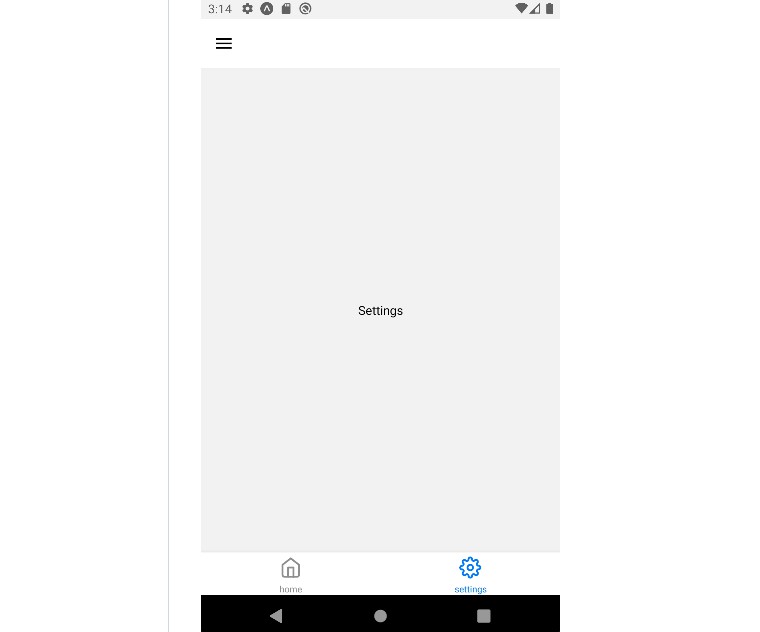
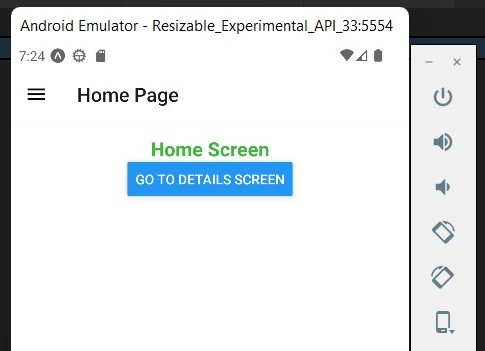
Running the Example App
The example app shown on top is found in the repository. Run it by cloning this repository and then executing the following commands inside the main directory.
npm install
npm run app --silent
cd app
react-native run-ios
Development
To develop the plugin further generate and run the example app. After that npm run watch in the main directory will copy over changes made in the src folder directly to the app. There are also a few static tests in the test folder which can be run with npm test.
Inspiration
The idea for the plugin came after experiencing some issues with native dependencies for an existing React Native navigation plugin.

![]()