React Native Project Structure
This project aims to be a strong foundation for react-native applications. It provides a clear and organized structure
Base dependencies
- axios for networking.
- react-navigation navigation library.
- redux for state management.
- redux-persist as persistance layer.
- redux-thunk to dispatch asynchronous actions.
Usage
Option 1: Using React-Native-Rename
You can start by cloning this repository and using react-native-rename. In the current state of this project, it should give you no issues at all, just run the script, delete your node modules and reinstall them and you should be good to go.
Keep in mind that this library can cause trouble if you are renaming a project that uses Pods on the iOS side.
After that you should proceed as with any javascript project:
- Go to your project’s root folder and run
npm install. - If you are using Xcode 12.5 or higher got to /ios and execute
pod install --repo-update` - Run
npm run iosornpm run androidto start your application!
(Using yarn: yarn ios or yarn android)
Option 2: Copy the structure to your project
If you want to roll on your own and don’t want to use this as a template, you can create your project and then copy the /src folder (which has all the code of your application) and update your index.js.
Keep in mind that if you do this, you’ll have to install and link all dependencies (as well as adding all the necessary native code for each library that requires it).
Folder structure
This template follows a very simple project structure:
assets: Asset folder to store all images, vectors, fonts, etc.src: This folder is the main container of all the code inside your application.components: Folder to store any common component that you use through your app (such as a generic button)constants: Folder to store any kind of constant that you have.routes: Folder to store the navigators.redux: This folder should have all your reducers and storeviews: Folder that contains all your application screens/features.helper: Common api controller.utils: Folder to store any common function such as calcutate radius, different date formatting functions
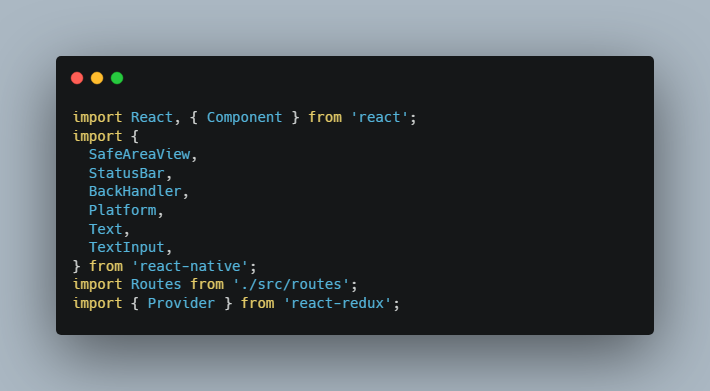
App.js: Main component that starts your whole app.index.js: Entry point of your application as per React-Native standards.
Modify the environment variables files in root folder (.env)
How to use it
The idea of this section is to explain how the template composition is the best and easiest to use when you try to use well-formed, architectures, especially using redux flow.
The template follows a simple and convenient exporting pattern. The folder index exposes the resources, allowing to import all from the same path.
Components
Components are the basic blocks of a react native application, but since we aim to minimize development complexity, all the components are at the same nesting level.
Another important thing is the use of propTypes to check the kind of data that your components need to work properly. If the component receives some data from others, the type of these props must be defined, and in case you need it the default value of the property too.
API connection handler
To keep the networking layer simple, the template uses a single Axios instance in the api.js. It uses interceptors to define common side effects for the responses.
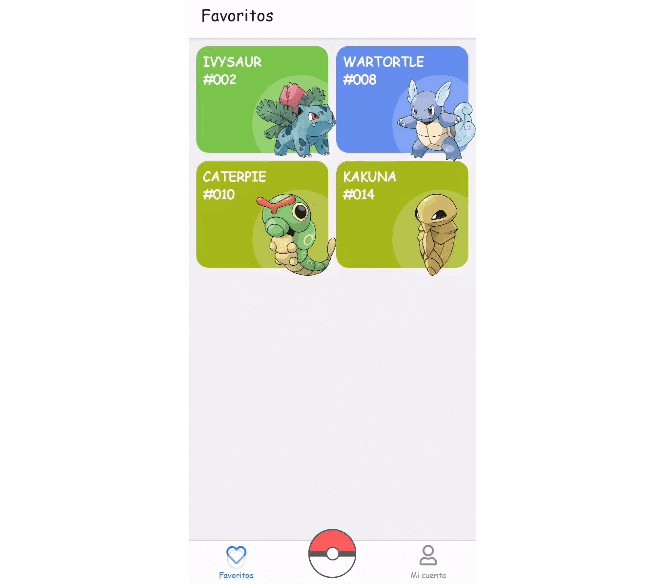
Views
In this folder, you have the main objects to apply the composition architecture. Just create a folder for each screen you have in your application, call all the components and static resources you need to render the scene and finally use the corresponding hooks to interact with redux and create behaviors depending on the store.