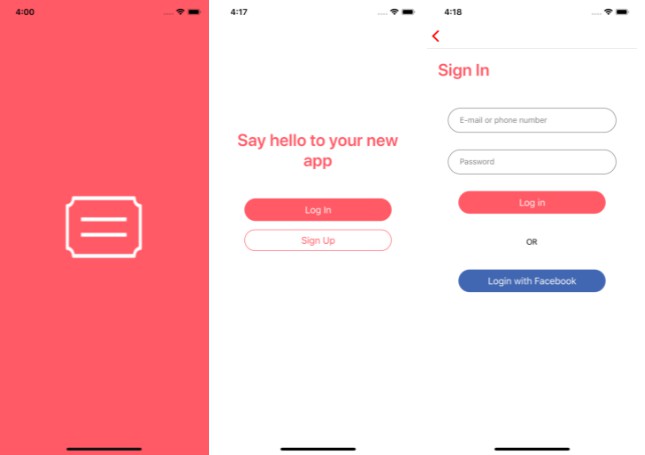
Supabase Starter Kit
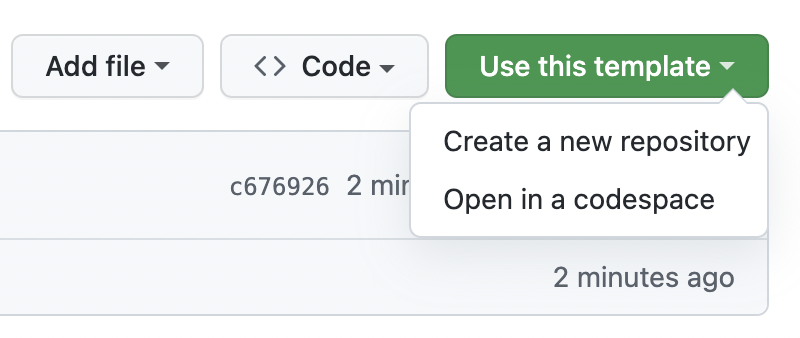
Use this starter-kit
Easy, just click on “use this template” and follow the github process ?
Once this is done, git clone your newly created repository, go into it with your favorite terminal and run yarn
Folder structure :
src
├── assets
├── components
│   ├── atoms
│   │   ├── Input.tsx
│   │   ├── Layout.tsx
│   │   ├── Link.tsx
│   │   ├── Spinner.tsx
│   │   ├── Switch.tsx
│   │   ├── Text.tsx
│   │   └── Title.tsx
│   ├── folder-rules.txt
│   └── index.ts
├── contexts
│   └── AuthProvider.tsx
├── hooks
│   └── use-supabase.tsx
├── navigators
│   ├── AppNavigator.tsx
│   └── AuthNavigator.tsx
├── queries
│   └── users.ts
├── screens
│   ├── app
│   │   └── ProfileScreen.tsx
│   ├── auth
│   │   └── LoginScreen.tsx
│   └── folder-rules.txt
├── services
│   └── supabaseClient.ts
├── themes
│   ├── ThemeContext.tsx
│   ├── index.ts
│   ├── navigatorTheme.ts
│   └── themes.ts
├── translations
│   ├── en
│   │   ├── common.json
│   │   └── index.ts
│   ├── fr
│   │   ├── common.json
│   │   └── index.ts
│   ├── i18n.js
│   └── resources.ts
├── types
│   └── env.d.ts
└── utilities
    ├── constants.ts
    └── helpers.ts
ref: generated using tree src.
Packages
- typescript
- @typescript-eslint
- eslint-react-hook
- @react-native-community/eslint-config
- prettier
- husky (pre-commit)
- i18next
- react-native-dotenv
- @react-navigation
- @supabase/supabase-js
- @react-native-async-storage
- react-hook-form
Create your automated user’s “profiles” table in one sql command
-> get it in /supabase/migration
-> use it in the SQL editor in your supabase interface (aka studio)
? Good job now you have a “profiles” table and a new row will be created every time a new user will signup with supabase.auth.
id and email between an auth.user and his “profiles” row will match. Columns created_at and updated_at field will be automatically updated.
Hooks for Supabase includes : useSupabaseQuery and useSupabaseMutation
No need to write loading and error state again and again, juste use this.
Example for queries :
const { data, loading, error } = useSupabaseQuery(
  supabase.from('profiles').select('*').eq('id', yourUserId),
);
Example for mutations (insert / update / delete) :
const { execute, data, loading, error } = useSupabaseMutation();

// DO SOMETHING...

// ... and use the execute when needed
const updateProfile = async ({ fieldToUpdate }: { fieldToUpdate: string }) => {
  await execute(
    supabase.from('profiles').update({ fieldToUpdate }).eq('id', yourUserId),
  );
};
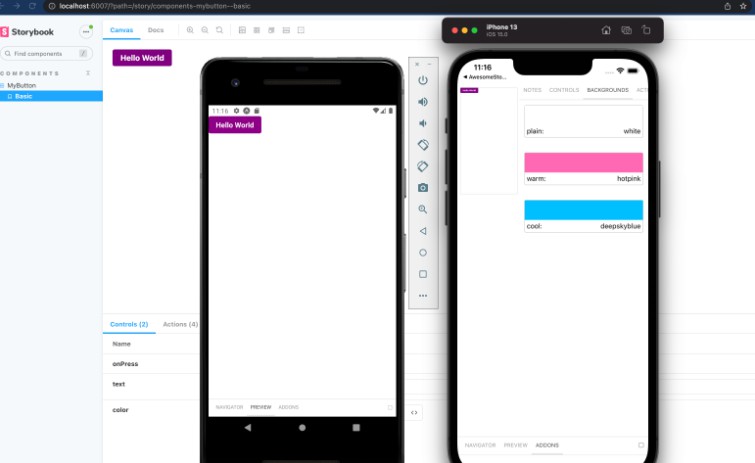
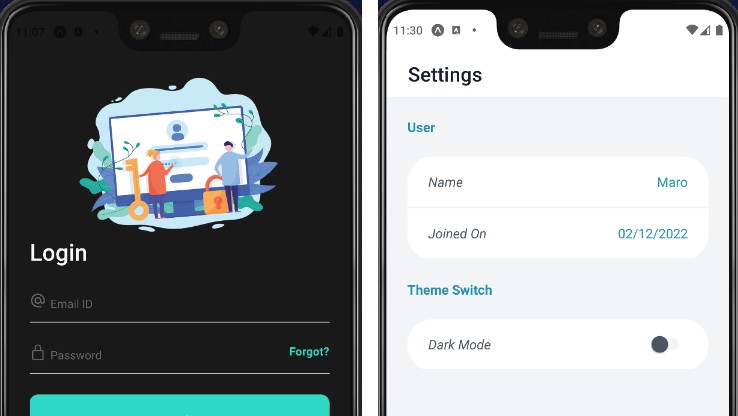
Theming
Styling was handle with a Context provider and a custom hook (useTheme) to use it.
The theme provider detect the color scheme of the device (light or dark) and use it by default or when it change,
but you can also switch the theme manually.
You can use your the custom hook “useTheme” like this :
// Component.jsx

const Component = props => {
  const { theme, isDarkMode, setDarkMode } = useTheme();

  return (
    <View style={styles(theme).container}>
      <Switch
        onValueChange={switchState => setDarkMode(switchState)}
        value={isDarkMode}
      />
    </View>
  );
};

const styles = theme =>
  StyleSheet.create({
    container: {
      backgroundColor: theme.colors.mainBackground,
    },
  });
Your current user
You can access to your current user everywhere in authenticated screen by using the useCurrentUser hook like this:
const user = useCurrentUser();
Conventions
- Conventionnal Commits (https://www.conventionalcommits.org/en/v1.0.0/)
- Changelog (https://keepachangelog.com/en/1.0.0/)
- Semantic Versioning (https://semver.org/)